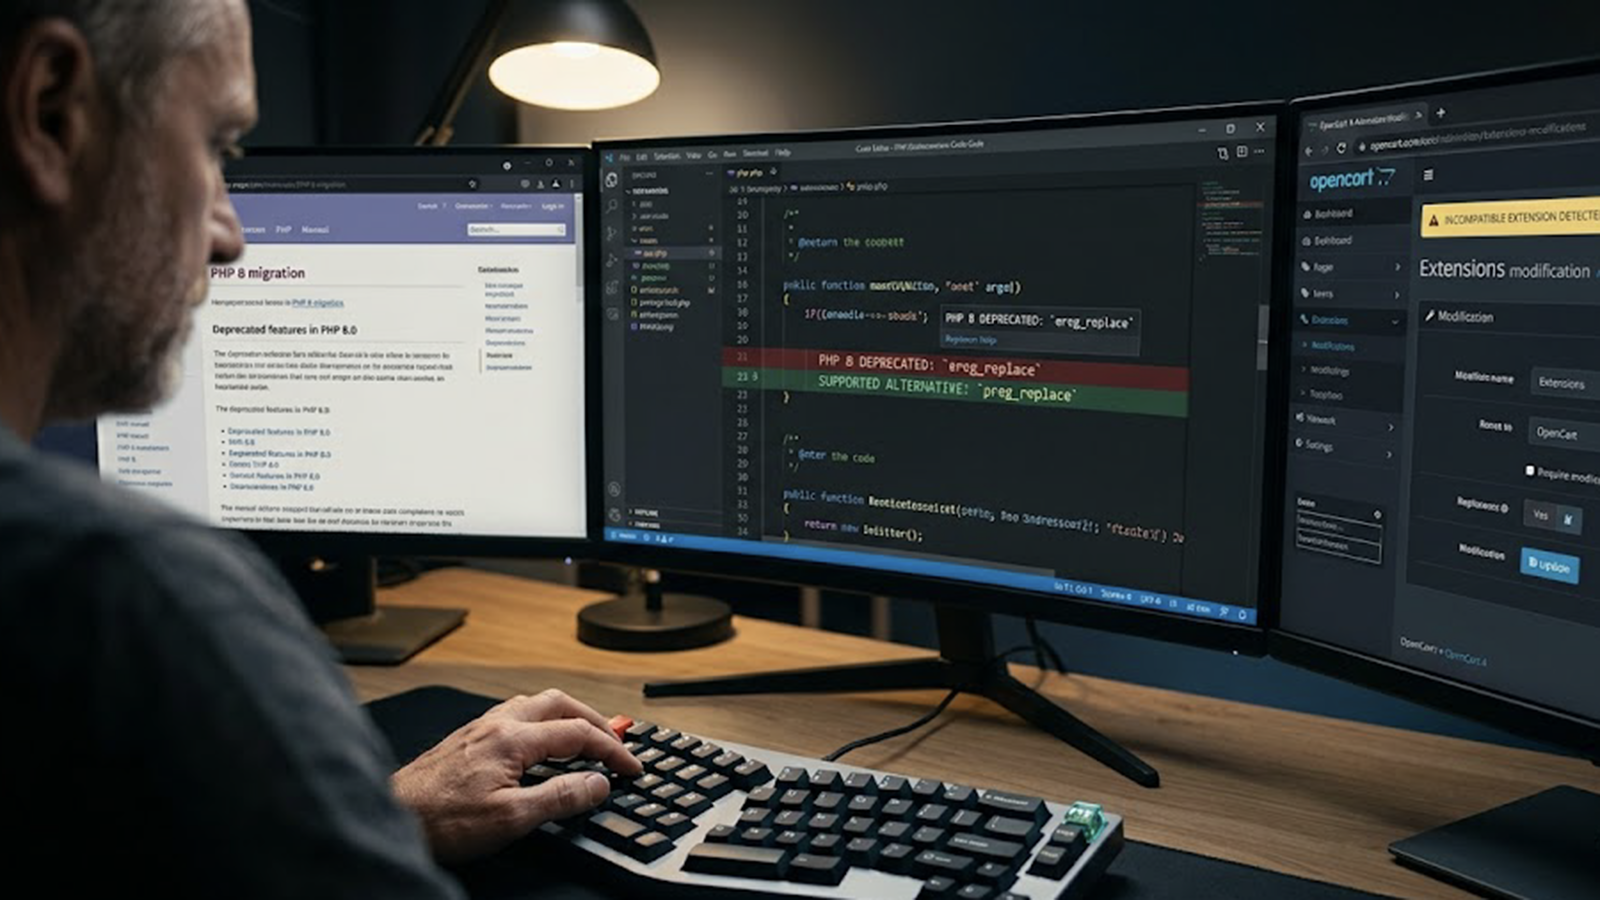
One of the most common issues I face while working with OpenCart websites is outdated third party extensions. Many store owners continue using extensions that were developed years ago and are no longer maintained by the original developer. These extensions may work perfectly fine for years until the hosting environment is upgraded, especially when moving to PHP 8.
Recently, I worked on a client website where a product sticker extension suddenly stopped working. The uploaded product stickers were not saving in the admin panel, and because they were not saving correctly, they were not appearing on the frontend either.
At first glance, the issue looked complicated because there were no obvious errors visible inside the extension files. After spending nearly two days debugging the extension, I discovered that the problem was caused by a very small PHP function that had been deprecated in PHP 8. After replacing the outdated function with a supported alternative, the extension started working normally again.
This experience reminded me how important it is to understand how OpenCart extensions modify the system and where developers should look when troubleshooting extension related issues.
Why Old OpenCart Extensions Commonly Break
Many older OpenCart extensions were built for older PHP versions such as PHP 5.6 or PHP 7.0. When websites are upgraded to PHP 8, these extensions often fail because they rely on deprecated or removed PHP functions.
Some common problems include:
In many cases, the extension itself is not completely broken. The issue may only be caused by one small outdated function or syntax problem.
The Biggest Challenge With OpenCart Extensions
One of the most confusing parts of OpenCart development is finding where the actual code is running.
Sometimes you check the controller, model, or view files directly inside the extension folder, but the code you are looking for is not there. This happens because many extensions use OpenCart modifications to override or inject code dynamically.
You may see modified code inside the storage/modification/ folder, but not inside the original files. This confuses many developers and store owners during debugging.
Understanding how OpenCart modifications work can save hours of frustration.
Important Locations to Check When Troubleshooting OpenCart Extensions
Whenever you are debugging or modifying an OpenCart extension, these are the main locations you should inspect.
1. system/library
The system/library folder contains core helper classes and libraries used by extensions.
Sometimes extension developers place custom helper files or third party integrations inside this folder.
Common things to check:
If an extension is throwing fatal errors after upgrading PHP, this folder should always be checked.
2. Extension Controller Files
Controller files usually contain the main business logic of the extension.
Typical path:
catalog/controller/extension/
admin/controller/extension/
In my recent case, the issue initially appeared to come from the controller because the save action was failing.
3. Extension Model Files
Model files handle database queries and data storage.
Typical path:
catalog/model/extension/
admin/model/extension/
Always inspect models when:
Many outdated extensions use old database handling methods that may fail on newer PHP versions.
4. Extension View Files
View files control the frontend and admin appearance.
Typical path:
catalog/view/
admin/view/
These files usually contain:
If the data saves correctly but does not appear visually, the issue may exist inside the view files.
5. Modification XML Code Stored in Database
This is one of the most overlooked areas in OpenCart debugging.
Many developers forget that extensions can modify files dynamically using OCMod XML modifications.
The XML modification code is often stored inside the database rather than physical files.
You can find these modifications inside the modification database table.
The important column is:
xmlThis XML code tells OpenCart how to inject or replace code inside controllers, models, and views.
Why This Matters
You may open the original controller or model file and not find the code responsible for the issue because the actual logic is being injected through the modification system.
This is exactly why debugging OpenCart extensions can become frustrating.
How to Check Modification XML Code
You can inspect modification code directly from the database.
Example SQL query:
SELECT * FROM modification;Inside the xml column, you will find modification instructions such as:
<file path="catalog/controller/product/product.php">
    <operation>
        <search><![CDATA[$data['price']]]></search>
        <add position="after"><![CDATA[
            // custom code
        ]]></add>
    </operation>
</file>
This helps you understand:
Also Check the Modification Cache Folder
OpenCart generates modified files inside:
storage/modification/or in older versions:
system/storage/modification/This folder contains the final compiled version of modified files.
If changes are not reflecting, clear the modification cache from the admin panel:
Extensions > Modifications > RefreshYou may also need to manually clear cache files.
Final Thoughts
OpenCart is still a powerful ecommerce platform, but many websites rely heavily on old third party extensions that were never updated for modern PHP versions.
The good news is that many issues are fixable with proper debugging and understanding of how OpenCart modifications work.
In my recent case, the entire extension failed because of one deprecated PHP function. After identifying and replacing that function, the extension started working perfectly again.
If you are facing issues with outdated OpenCart extensions, do not only check the controller, model, or view files. Always inspect:
Understanding these areas can save hours or even days of debugging time and help you keep older OpenCart stores running smoothly on modern PHP environments.